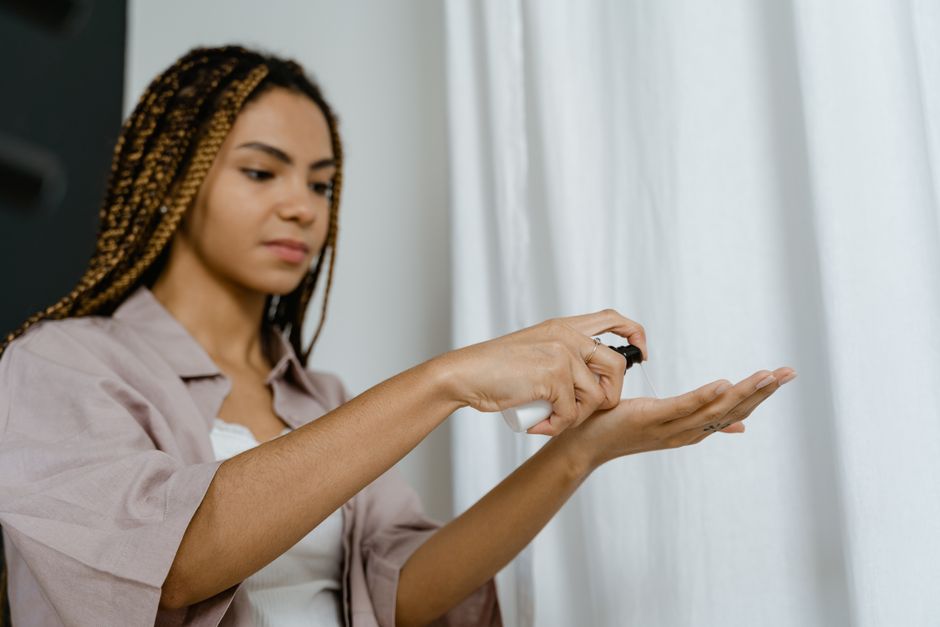
Cornrows are not just a hairstyle. They are a cultural statement, a testament to the history and beauty of African hair artistry. For many Nigerians, cornrows are a go-to style that combines both tradition and modern fashion. Whether you're prepping for a party or simply want a stylish everyday look, mastering the art of cornrowing can elevate your hair game. In this guide, we'll take you through the step-by-step process of braiding your hair into cornrows.
Understanding Cornrows
Before you dive into braiding, it's essential to understand what makes cornrows unique. This hairstyle involves braiding the hair close to the scalp in rows. The result is a neat, elegant pattern that can be simple or intricate.
Why Choose Cornrows?
- Low Maintenance: Once done, cornrows can last up to six weeks with proper care.
- Versatility: You can style them in various patterns and sizes.
- Protection: They shield your hair from daily damage.
Preparing Your Hair
Preparation is key to achieving neat and long-lasting cornrows. Start with fresh, clean hair. Using a shampoo and conditioner designed for your hair type can make a significant difference.
Products You'll Need
- Shampoo and Conditioner: Choose products that are specifically made for natural hair.
- Leave-in Conditioner: This helps in detangling and moisturizing your hair.
- Hair Oil: Coconut or argan oil works wonders in keeping your hair hydrated.
- Wide-tooth Comb: Perfect for detangling without causing breakage.
Step-by-Step Cornrow Braiding
Now that your hair is ready, let's move on to the braiding process. Patience and practice are your best friends here.
Step 1: Divide Your Hair
Use a rat-tail comb to part your hair into sections. Start with a middle part for symmetry. Each section will be a cornrow, so plan out the pattern you desire.
Step 2: Start Braiding
Begin at the hairline and take a small section of hair. Divide this into three equal strands. Cross the right strand under the middle and then the left under the new middle. As you continue, add small amounts of hair to each strand before crossing.
Step 3: Continue the Process
Repeat the braiding pattern, adding more hair from the section as you move towards the nape. Keep the tension consistent to ensure a neat braid.
Step 4: Secure the Ends
Once you've braided to the end of your hair, secure it with a small hair elastic to prevent unraveling.
Maintaining Your Cornrows
Maintenance is crucial to keep your cornrows looking fresh. Nighttime routines and periodic washing can extend the hairstyle's lifespan.
Nighttime Care
- Silk Scarf: Wrap your hair in a silk or satin scarf to reduce friction and preserve your braids.
- Moisturizing Spray: Use a light misting of water and leave-in conditioner to keep your scalp and hair hydrated.
Washing Your Cornrows
Washing cornrows requires gentleness. Dilute shampoo in a spray bottle, apply to your scalp, then rinse with water, taking care not to disturb the braids. Follow up with a conditioner, rinsing thoroughly.
"Cornrows are not just a hairstyle; they are a symbol of cultural pride and beauty. Embrace their versatility and elegance." - Hair Stylist, Ada Eze
Common Mistakes to Avoid
Even seasoned hair enthusiasts can make mistakes when braiding cornrows. Here are some pitfalls to watch out for:
Tight Braiding
While it's essential to keep the braids neat, overly tight braids can lead to hair damage and scalp pain. Maintain a comfortable tension.
Ignoring Your Scalp
A healthy scalp is crucial for maintaining any hairstyle. Ensure you don't neglect moisturizing your scalp during the duration of your cornrows.
Conclusion
Cornrows are a beautiful and functional hairstyle choice that suits any occasion. By following this guide, you'll be able to create stylish cornrows that celebrate your heritage and showcase your personal style. Remember, practice makes perfect, and with each attempt, your cornrowing skills will only improve.